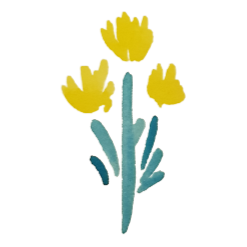
Miss Sheepish
Digital and watercolour Illustrator
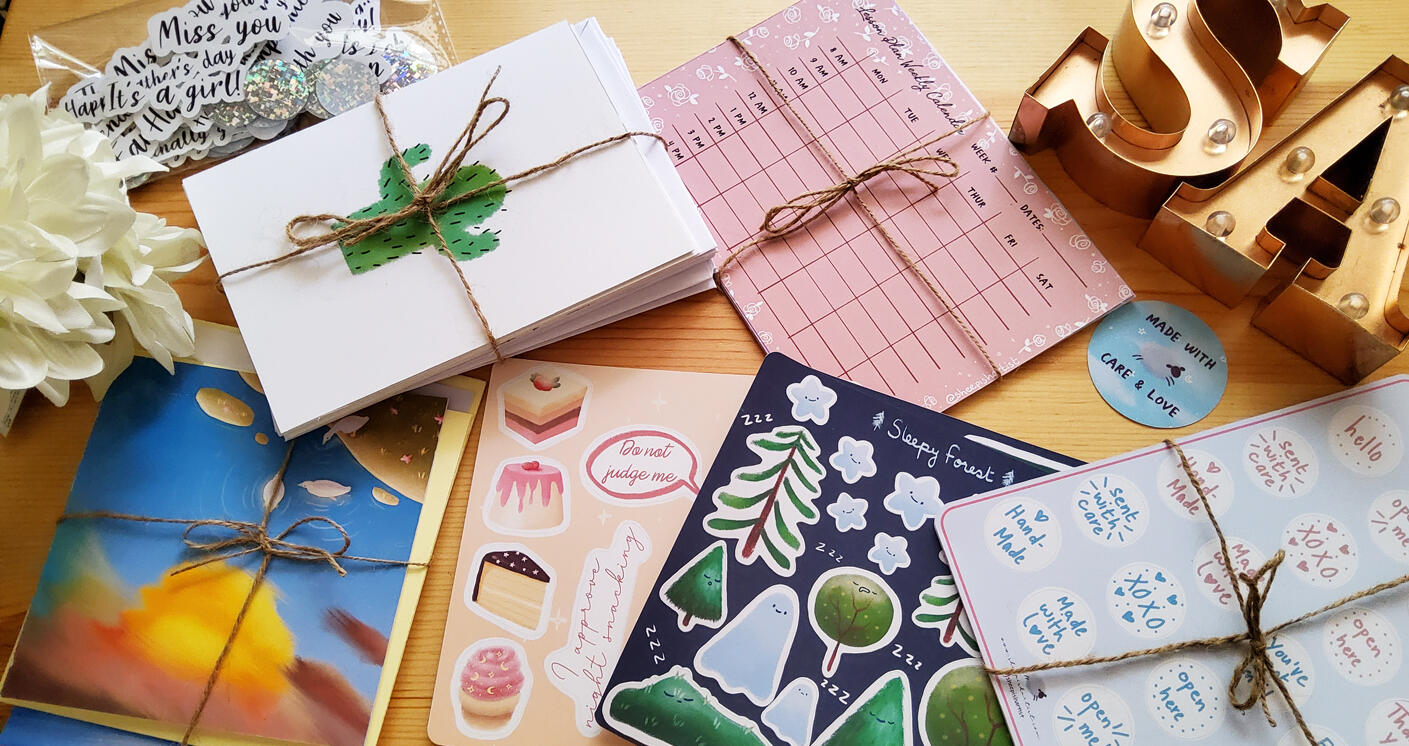
Creator of print and hand-made stickers, greeting cards and planners.
Shop

(CLOSED)
Shop is temporarily closed.
Download wallpapers on your phones and laptops from gumroad.com
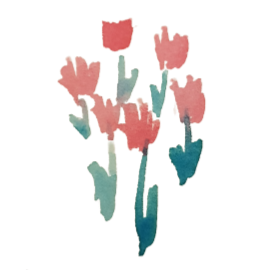
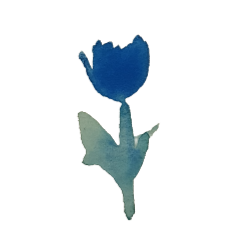
Gallery
Illustrations


Water Colour Comics
Read full comic here
FAQ
I am currently NOT taking commissions.
For payment, I accept direct bank transfers and Easypaisa. I also offer Cash on delivery (COD) service.
I deliver my hand-made products only in Pakistan.
I will refund your money if you let me know one day after you have placed the order and I will return the full amount. I will not refund if the package is already on the way.
7-day Return Policy: If you do not find your products as specified in the shop or if there is a mistake in packaging, please contact me within one week on my Instagram page @sheepishartist or you can e-mail me with your complaints at thatsheepishartist@gmail.com I will try my best to meet your demands. You don’t have to return the defective products back to me. No complaints will be accepted after seven days have passed.
For more updates, subscribe to my newsletter.
About me
I love the time of dawn and dusk, pareidolia clouds, fluffy animals, birds and flowers. I like sports and indoor activities (which involves books, movies and video games). These hobbies are my inspiration for drawing. If you are interested in what inspires my art, feel free to see the following list of things I see.
Movies I watch
Books I read
Games I play
Sports I like
Football, badminton, volleyball, horse riding
(I don't follow sports on TV, so I don't know many international players or champions.)
Contact
I'm mostly active on my Instagram and I also reply to e-mails.
You can subscribe to my newsletter for updates and discounts here.
Location: Punjab, PakistanSocial Media:
Blog
HOW TO START STICKER BUSINESS WITH LIMITED BUDGET IN PAKISTAN
25th March, 2022
Disclaimer: No product or service is sponsored in this blog. The recommendations are purely my own. I will not be held responsible if someone is hurt or offended by any of my personal choice or remark in this blog.
It is my wish that I meet people who are also passionate about starting a business like mine. But I found that due to limited resources, they don't know where to start. I was the same once. Nobody was there to guide me. I made a lot of mistakes, wasted money on projects that never worked out in the end.
I am not an expert but I do admit I have reached a point where I know what is required to start an art-related home business from scratch in Pakistan.
So let's do this!
REQUIRED STEPS AND TOOLS
Take a guess, the most important thing to make greeting cards and to cut stickers is a pair of scissors right? Wrong! I barely use it! I only need it to open a package, not pack it! Let me tell you what you actually need. Let's first see what art medium you use. Are you a watercolour artist? Do you use oil paints, acrylics, pencils, crayons, digital tablet? Whatever material you have, lay it out on the table.
Step 1: Suppose you are a watercolour artist, you don't need to start your business with fancy stuff like the Winsor and Newton studio set. But you also don't need those pelican kids set. Use the ones which are cheap but mix well and create pretty results. If you need guidance, you can start with KOI Sakura Watercolors 24 colours. I loved these when I was serious about painting (also, it has a fancy looking brush included in which you can fill water in). Next, buy a thick drawing sketchbook from your local store or online shop.
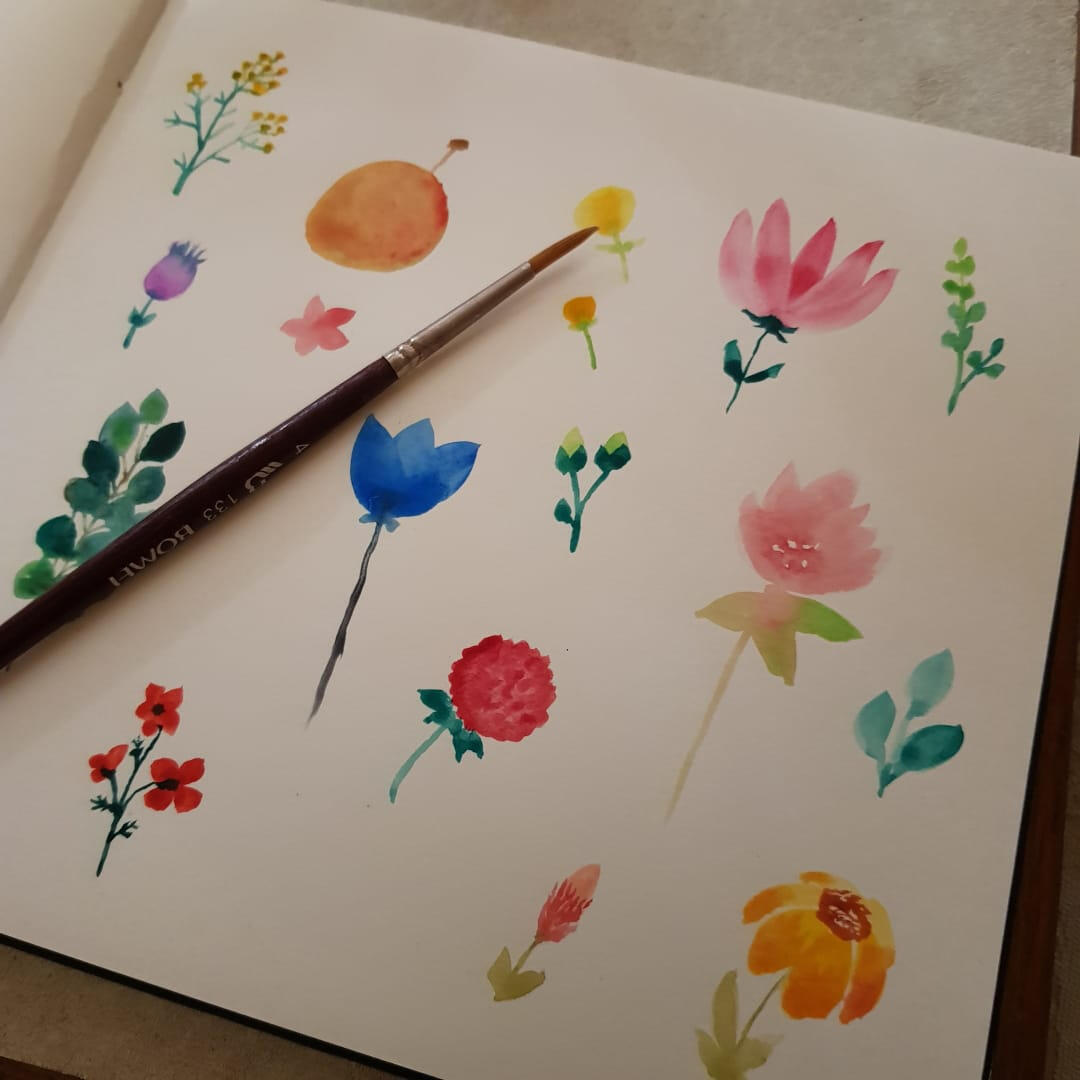
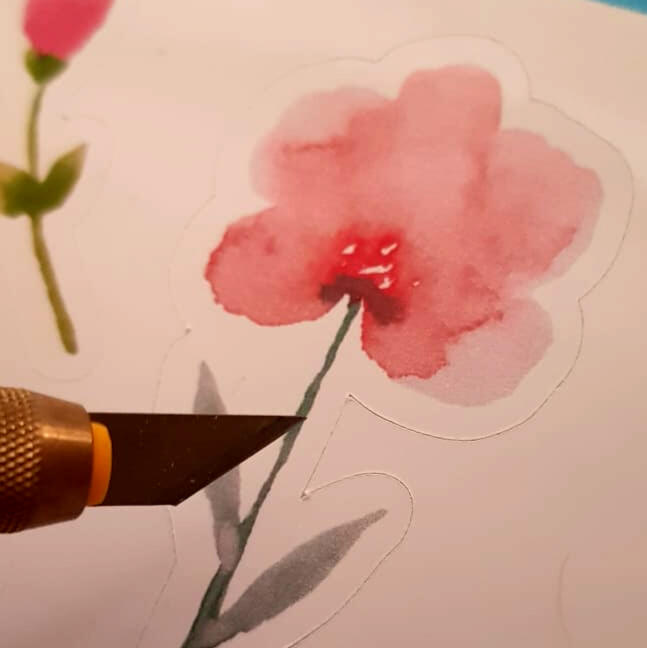
Step 2: Now draw what you love. Your passion and dedication should flow through the brush onto the paper if you want customers to love your art. (To be honest, when I started, I was terrible at drawing but I didn't lose heart because remember, practice makes perfect.)
Step 3: You don't need a big scanner machine to scan photos. I still take pictures of my drawings from a smartphone. Take the pictures and then transfer them to your laptop. No, not a smartphone, to your laptop. If you want to be serious about your business, you need a laptop. You don't need a high budget one either. Use the one on which you do your school/university work or just borrow it from your parents or siblings. You will only need it to edit pictures.
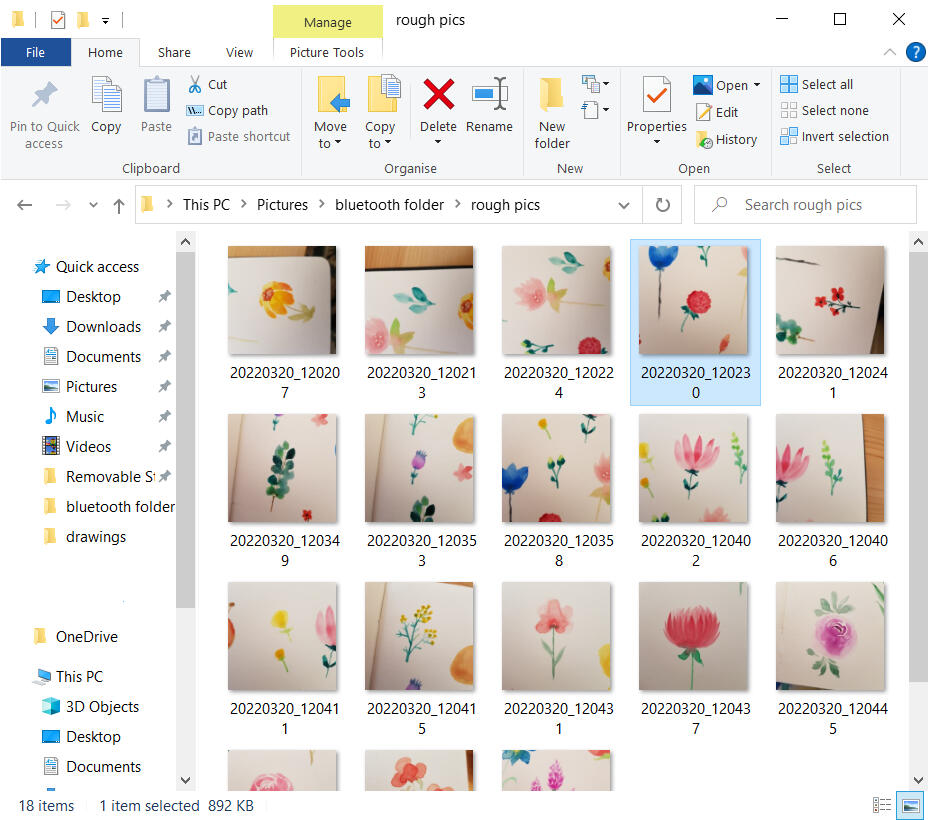
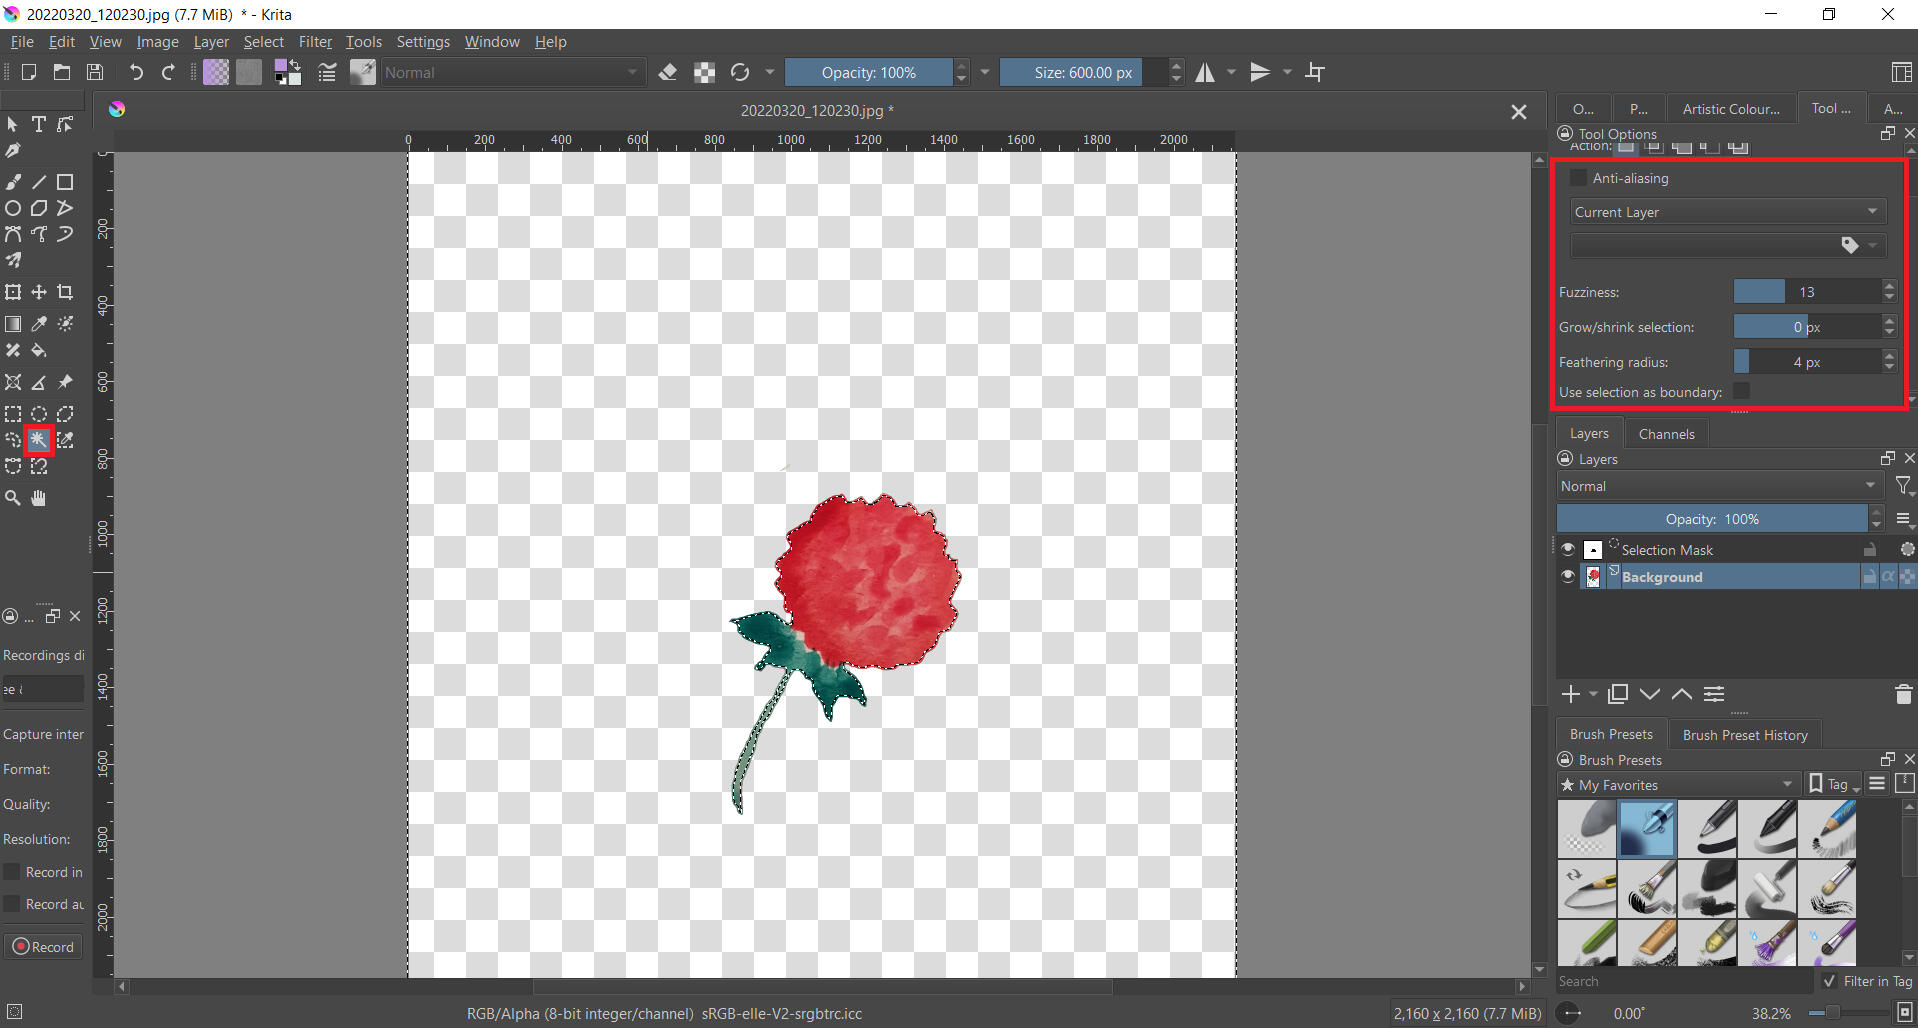
Step 4: I will now tell you the special ingredient which will make your stickers come to life. It's the editing software. No, I will not recommend Adobe Photoshop. My choice will always be Krita software. Krita is my favourite. It's free and it has almost everything you need. Adobe Photoshop is expensive. And even if you download a pirated copy, it would repeatedly crash. Let's choose the fourth image from my folder and open it in Krita. Now I will not go into details as to how to use Krita. For that, you will need to see its tutorials on Youtube starting from here so that you can know other cool things it can do which will help you a lot in your future business. But I will tell you a little about the most useful tool. That's "The magic wand" or if I say in the Krita language, "Contiguous selection tool". Click on that tool and select the background around the flower (you will have to tweak the settings of the selection tool a little based on how dark/bright or blurred/sharp your image is. I have shared the image below which shows what settings I used for this photo (For chrome browser: To zoom in, long-press the image and select "Preview image").
Step 5: Save the image in .png format so that the background stays transparent. Do this with the rest of your drawings. Discard the drawings which you think do not look great together. Combine the remaining images together in Krita and make a cute sticker template. The following are some great ideas which you can use: idea 1, idea 2, idea 3. DO NOT CHEAT! Just take inspiration from them like a good artist you are. Your own ideas will show people how talented you are. Sticker hoarders can spot the talented and the cheaters when they see one.
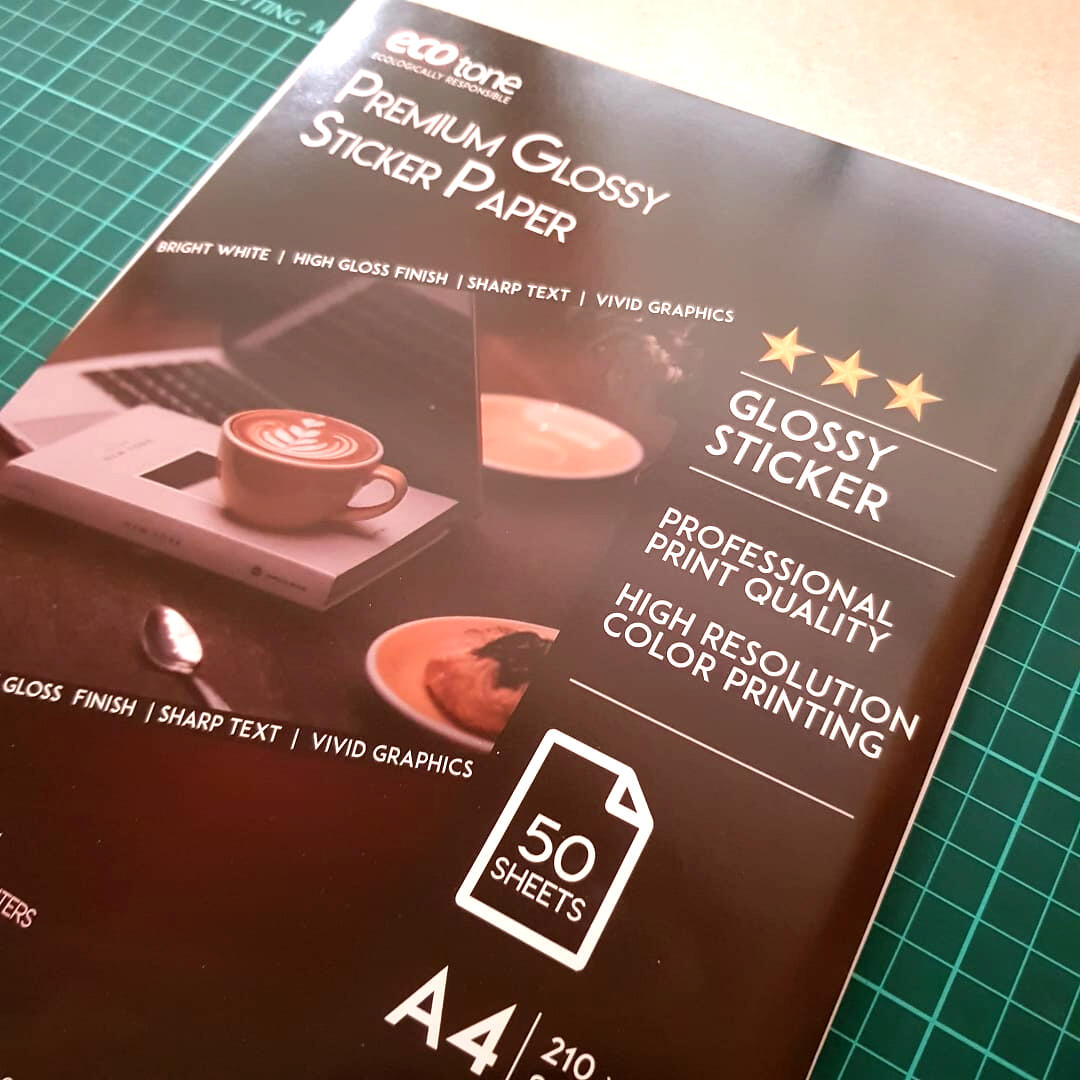
Step 6: Now is the time when your good old "Photocopy wala uncle" from college comes in handy. If you or your parents have a coloured printer at home, great! your job is almost complete. But if you are out-sourcing the printing step, there is one thing you need to do before you wave your salam to that uncle. Buy an A4 size sticker paper from a stationery shop. I don't usually buy this item online unless I'm desperate. I like to see with my own eyes how good the quality of the paper is. Paper is a pretty delicate thing. It can get bent or damaged when shipped via courier. Which is why I buy it from a nearby shop. But I leave this choice up to you.
Give the sticker paper and the png. file to the uncle and ask him if he has an inkjet or laserjet printer and if he can check if your paper is compatible with that printer.
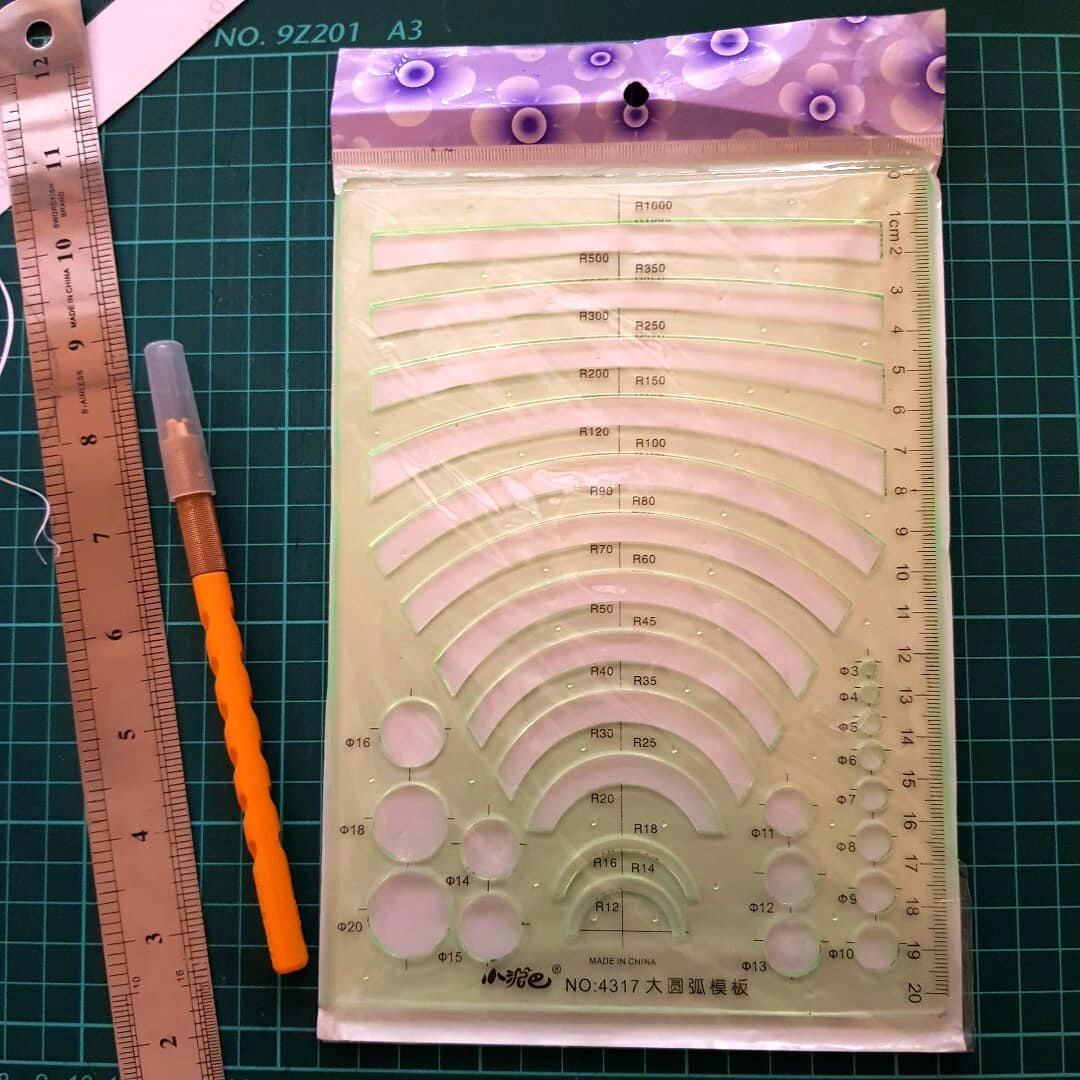
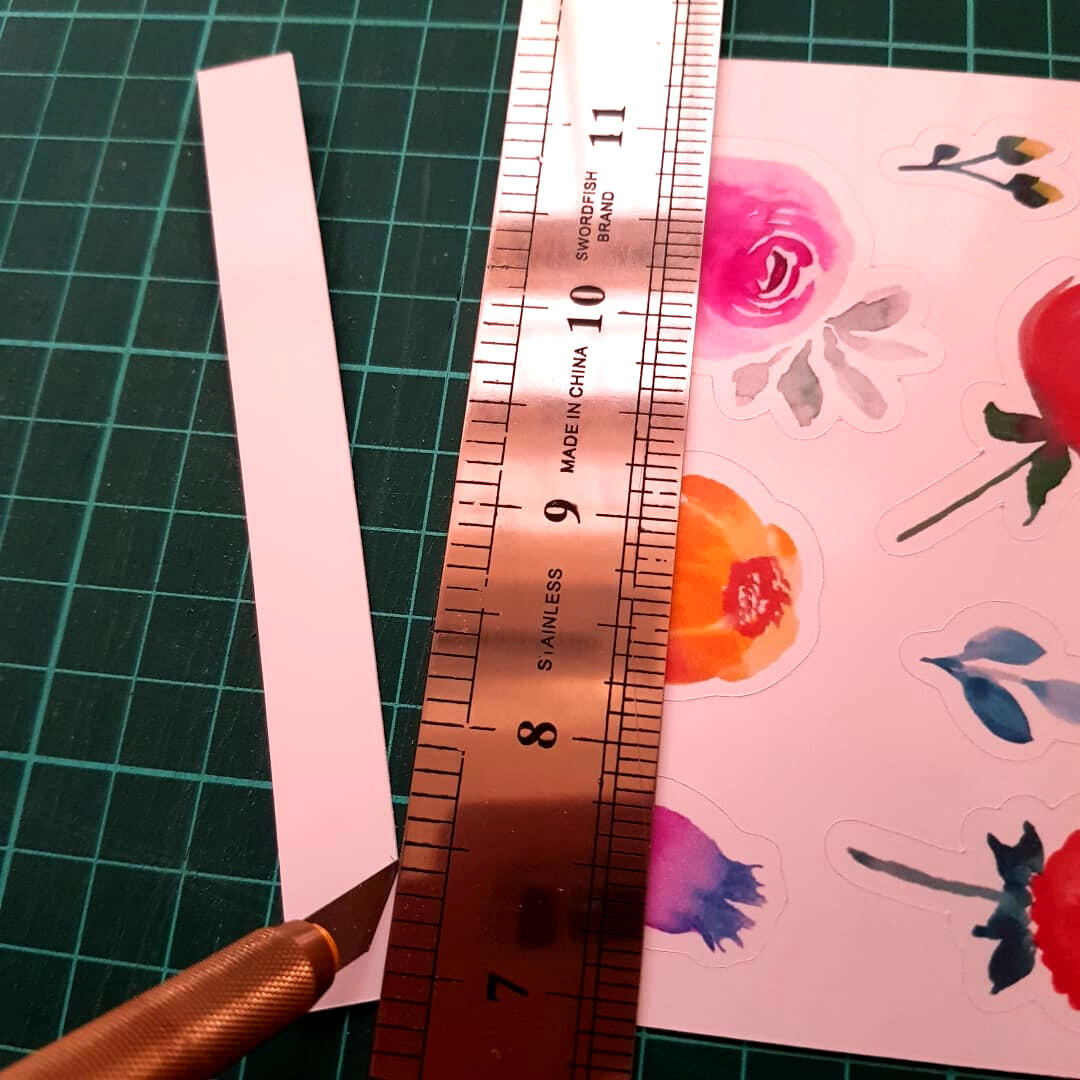
Step 7: Oh and before you head out to buy the sticker paper from your favourite stationery shop, you also need to buy three very important things which are paper cutting knife, an A3 size paper cutting mat, and a stainless steel 12-inch ruler. It's very important that the ruler is stainless steel. Plastic ones will make your job hell. They themselves get sliced in half when you cut your stickers. Ok so I've mentioned the three important tools. Now I will mention the two optional ones. One is a stencil of your choice depending on what kind of stickers you want to cut. I personally prefer round stickers so I have a stencil of different round shapes. You can have the one with square or rectangle or any other fancy looking ones. Stencils are easily available everywhere.
The second item is a corner rounder paper cutter. This is purely my choice. I think round corners of paper makes it look pretty. But some people like pointy edges.
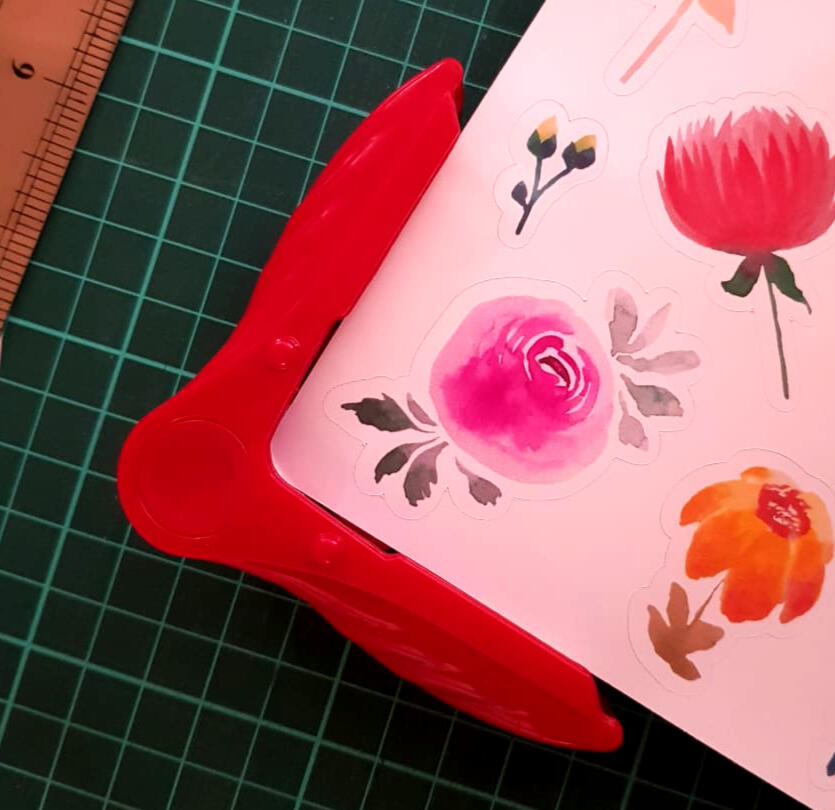
Anyway, now that I have mentioned the tools, the most important among them is my best friend, the paper cutter. Say hello to it.
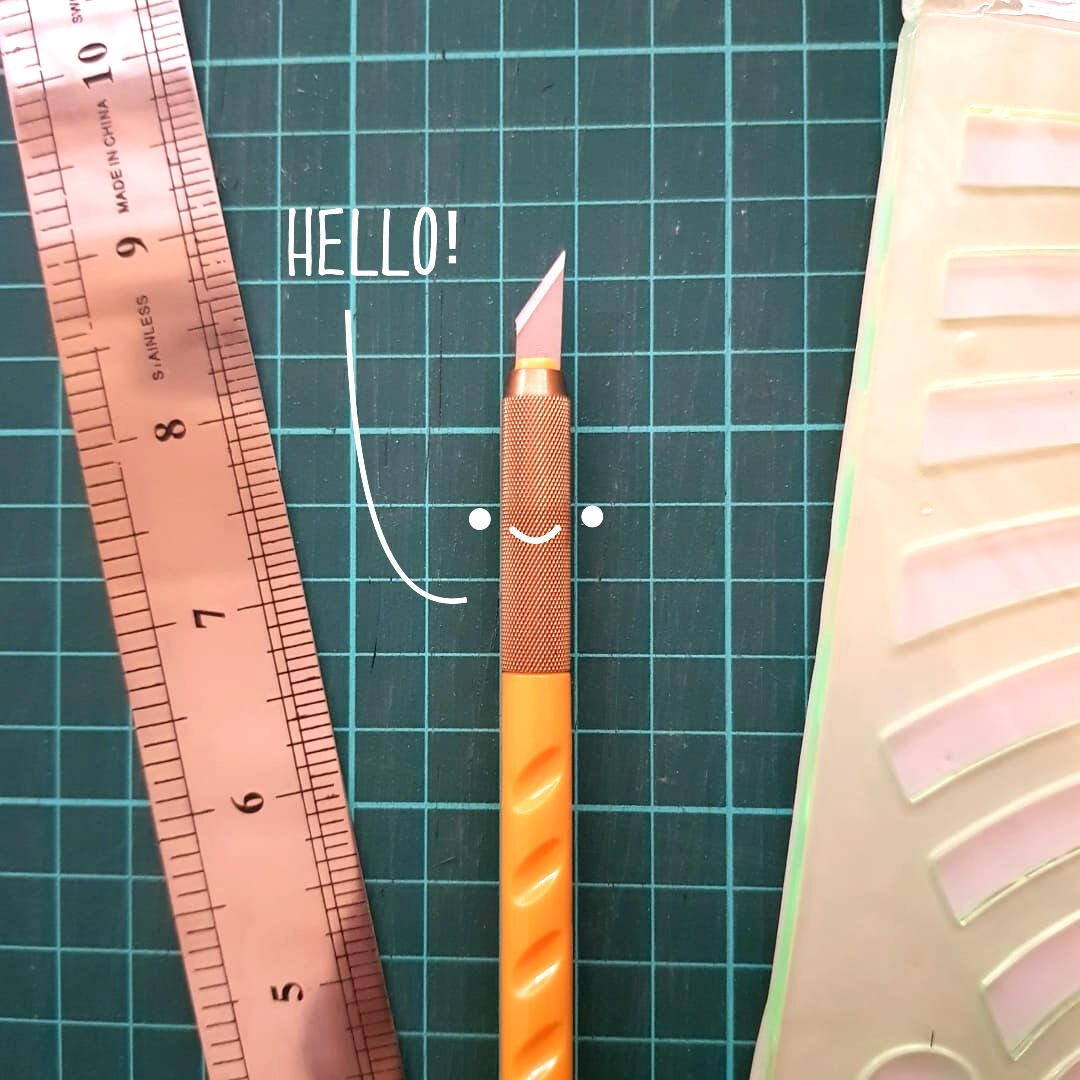
This is the cutter that replaces any pair of scissors. It will help you in cutting greeting cards and two types of stickers, "Die-cut stickers" and "Kiss-cut stickers" (This short 50 seconds Youtube video will help you understand what they are). Die-cut stickers are easier to make with these cutters. Start practising with them. Then when you are an expert in controlling the pressure and speed of your hand, you can start making kiss-cut stickers until you have earned enough to expand your business and can afford a plotter. Remember, this article is about starting on a low budget.
Step 8: The good news is, your stickers are ready!
But now where do you sell them? Amazon or Daraz right? I wouldn't recommend Daraz for a person who is just starting a business. This was a step on which I struggled a lot when I started. But luckily, now we have options. Let me list some of the platforms where you can sell.
Dukan.pk and Digi Dokaan help you run your online shop from your smartphone. Your account will be opened in just 30 seconds (as they claim). But for these, you need to create your own audience with the help of social media and ad runs. The good thing is that you are in total control of your shop and you can open and close the shop any time you want. The other selling platform is Pakistancreates.com. They have their own audience and they need you to first fill out a form and also send them a few of the items you will be selling. They will approve the quality of your products and will give you access to their site. This process takes a few days. For every product you upload online, they will view that product first and then allow it to be shown on their site. Product approval also takes around a day. But this system helps them to gain trust with their customers which is good. I have used three of these platforms and I like all of them. I am sure there must be more platforms by now as this article will start getting outdated after some time.
Want to see how my stickers finally looked when I was finished making them? Click on the button to see.
So there you have it. You just became a professional sticker seller.
Did this article help you in any way? reach out to me on thatsheepishartist@gmail.com and let me know how your journey goes.
Peace!
TAKING THE STICKER BUSINESS TO THE NEXT LEVEL
17th Aug, 2022
Disclaimer: No product or service is sponsored in this blog. The recommendations are purely my own. I will not be held responsible if someone is hurt or offended by any of my personal choice or remark in this blog.
I'm guessing by now you have gotten a hang of basic sticker making and have earned enough that you can now invest in bigger tools and want to pursue it on a professional level. (Or if you are simply scrolling through my blog and imagining that you have done just that, that's ok too).
This blog is more of a story and less of a guide because currently, I'm stuck at this level and still learning from my experience. It will also be short but contains the important information that you need.
The steps are the same but now instead of cutting by hand and outsourcing the printing, I will recommend the following machines.
Required tools
1. Colour printer
2. Cutting plotter
First off, where do you get a printer?
Pakistan has a good variety of printers, most famous being HP, and Epson (As good as Canon is, it's expensive and shops don't keep their refills, which is why I would tell you to stick to a company which has a bigger market in Pakistan). I bought an HP Smart tank 515. It's working great. You can browse through many printers either in the shop or online and see what printer best suits your budget.
Secondly, where to get a cutting plotter?
That was one of the biggest struggles for me.
If you look at professional DIY sticker makers, they use the following machines for cutting, Cricut, Silhouette and Brother from which Cricut is most widely used and I think also one of the more expensive machines. When I did my research, I wanted a Silhouette Portrait. It was cheap at that time and I also liked the cute shape of it. But all these products were only available in the U.S.A at that time. I didn't know anybody who would get this machine for me. If you know someone from the U.S or U.K, ask them if they are willing to bring Pakistan a big machine. Another option I was willing to try in desperation was to order directly from Amazon and Desertcart but the delivery charges were a lot at that time. If you want to take my advice, do some research on all three cutting plotters and study their software. Cricut's software is known to rip customers off their money because some of its extra perks are subscription based.
So long story short, as poor as I was at that time, I decided to order from Aliexpress. That was another struggle. Most of the plotters on that site come with Chinese software. Finally, I came upon a plotter called Vicsign. My recommendation is to buy a plotter of a size A3 paper. A4 is great and cheaper but sometimes when you need to cut a larger batch, A3 is a better option. The plotter arrived after a month but the software CD was confiscated by the Customs. The guys at the customs duty office also demanded further delivery charges that I had to pay. That was one of the most infuriating situations I ever faced. First, I'm paying for delivery twice, secondly, my plotter is useless without the software. I messaged the vicsign company on Aliexpress and they were kind enough to send me a soft copy via email, though I doubt they will do that for every customer. which is why I would recommend you first talk to the company about how they are going to provide the software with the machine. The experience was horrible, but at least I got my plotter. But to tell the truth, I still got everything from Aliexpress a bit cheaper compared to the cost of the Cricut machine.
I learned how to use the software, (which was in English thank goodness) and now I make stickers with it. The current problem I'm facing is the replacement of the cutting plotter blades which have become blunt. I ordered those blades via the same company and as usual, the blades were confiscated by the people in the customs duty office. I don't know why they do that. I have a few spare blades but I don't know what I will do once I'm out of those.
All in all, I got my plotter from Aliexpress for half the price of the Cricut machine but also at a price of a horrible experience. I guess you may have a better experience if you order these machines through one of your relatives living abroad.
I tried searching for a market in Pakistan where they keep the cutting plotters. I went to the old side of the cities but my search was fruitless.
So yes, this is my story.
I have seen a rise in sticker-making trends recently. Hopefully, there is a market out there somewhere which caters to us now. But the journey I narrated was when there was no such thing as a sticker-making hobby. People at that time only outsourced sticker printing. I hope it can be pursued at home with ease now.
These machines will help you make stickers at a faster pace and will give your stickers a professional look.
Best of luck!
Peace!
P.S I have some other tips and guide for sticker making but for which I will need to write a separate blog. So keep checking back or simply subscribe to my newsletter so that you are notified.